Levenhuk Strike 90 PLUS VS Levenhuk Skyline 70x900 EQ. Models overview and comparison
I got a chance to test two popular Levenhuk telescopes, so for the last two weeks I’ve been studying and meticulously testing Levenhuk Strike 90 PLUS and Levenhuk Skyline 70x900 EQ. While reading this review try to decide which one is better in your opinion, and to guess which model is more expensive. At the end of the article you will be able to compare your opinion with mine and find out which telescope is pricier.
So let’s begin. Both telescopes in question belong to the group of achromatic refractors. Put simply, those are like spotting scopes, but larger and with their own features and specifications.
The first telescope, Levenhuk Strike 90 PLUS, was delivered to me packed in a black telescope case with yellow brand logo sewn on the side pocket. I was told that this telescope bag is included in the standard kit with this model. Nice. The case is sturdy and well made: fasteners and straps are attached properly; the bag itself is very comfortable to use. All telescope components and accessories are packed inside the bag very tightly, so keep in mind that adding some additional accessories or parts in the kit might be problematic.

The interior of the bag is divided into two parts by soft layer – one of them is meant for the telescope itself, while the second holds the tripod, mount and counterweight.
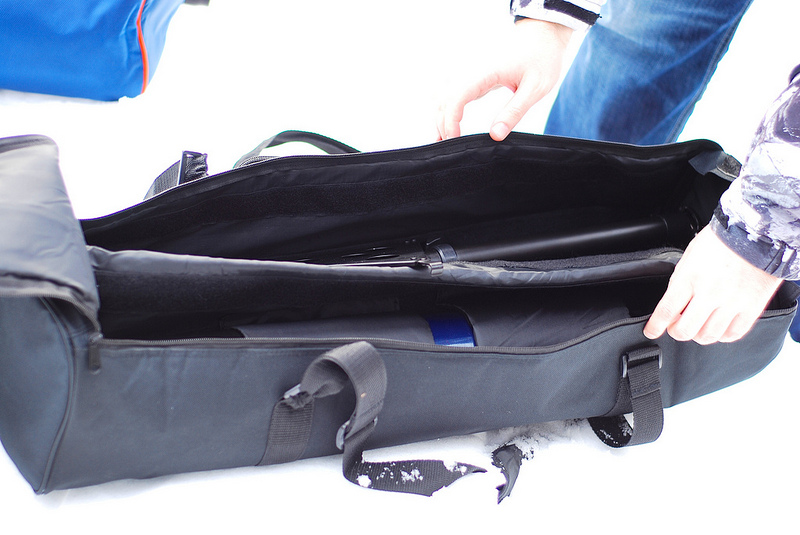
The second telescope, Levenhuk Skyline 70x900 EQ comes without a telescope case, but a case can always be bought separately. The blue bag you see in the picture is a suitable Levenhuk telescope case you can purchase for Skyline 70x900 EQ. Without a doubt, dimensions of a telescope case depend on the telescope size, but the bag with Skyline just seemed roomier to me. The interior design of the bags is almost the same.
Let’s move to something really interesting – assembly. On our way there we will also learn some of the telescopes’ specifications and kit contents. Let me warn you that pictures that illustrate this article might differ in color tonality since we have had three telescope photo shoots and I tried to pick only the best photos for this review.
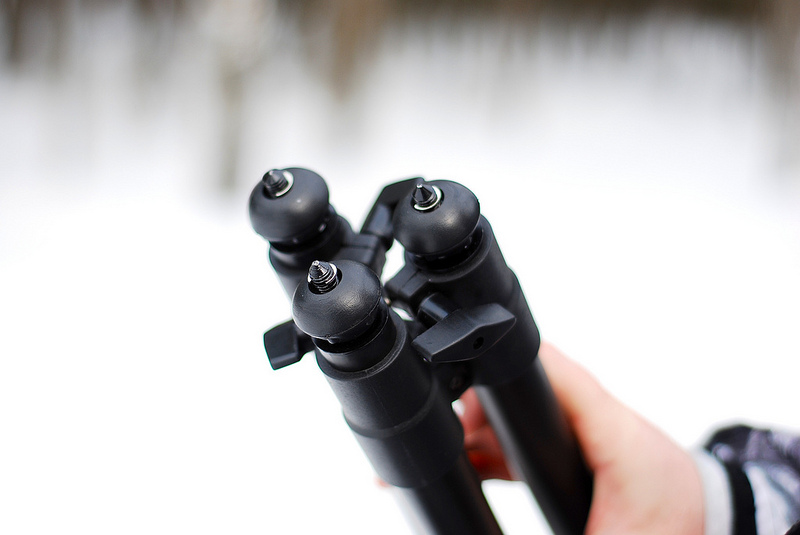
The tripod of the Levenhuk Strike 90 PLUS telescope is made of aluminum, is quite lightweight, and can be extended or shortened. Lock knobs and thumb screw caps are made of plastic.
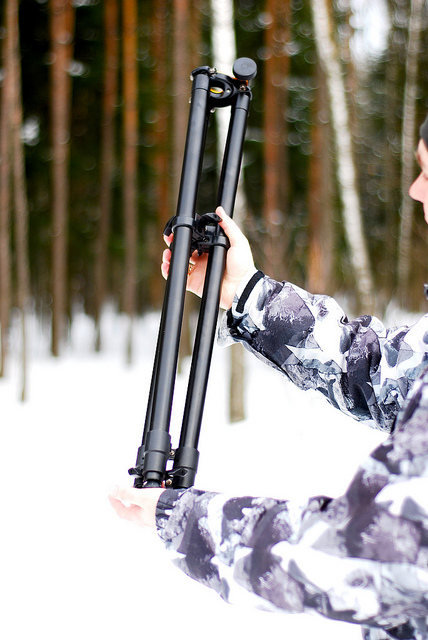
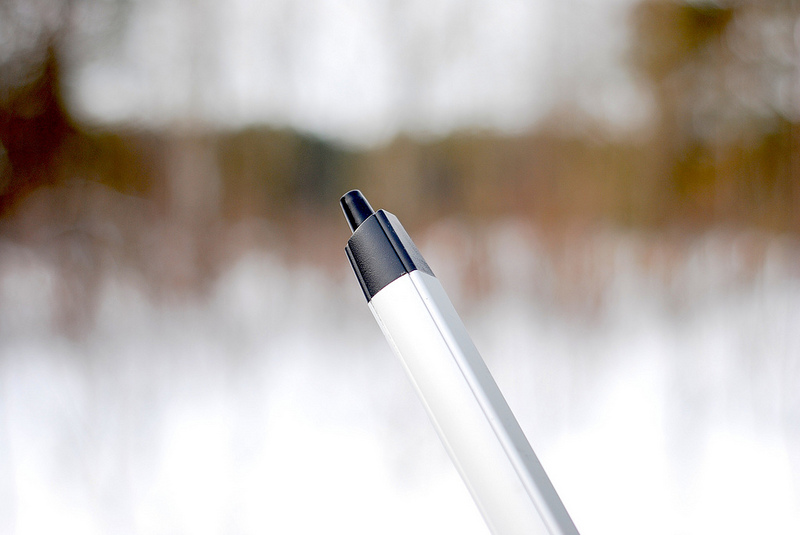
Tripod legs have adjustable rubber feet, which need to be used when observing at home (rubber will help protect your floor covering) and removed when observing in the field (this makes telescope installation in the ground easier).
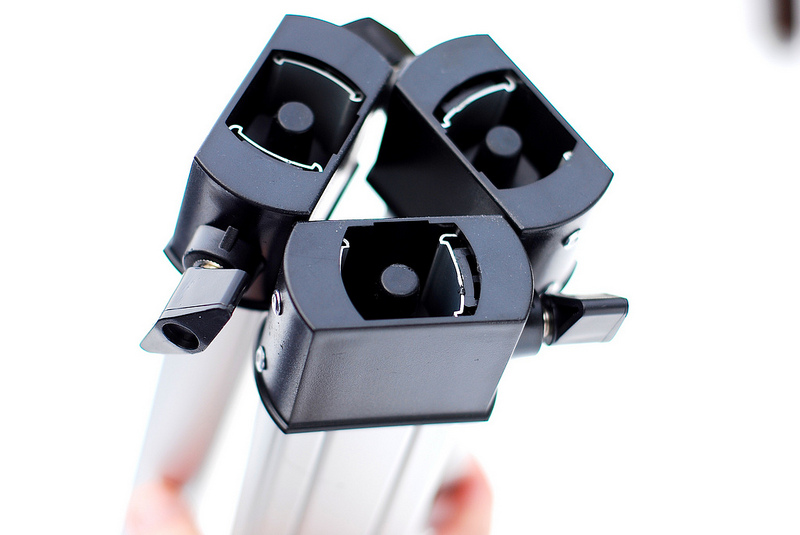
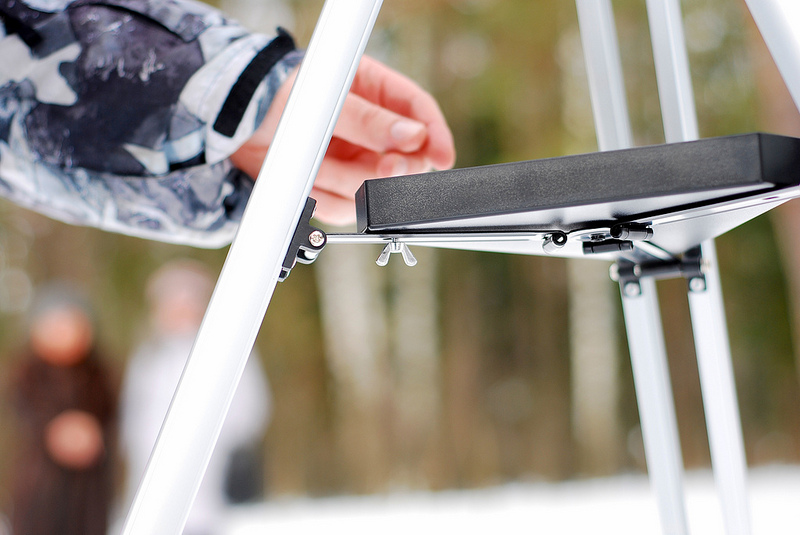
The accessory tray is made of metal and has special openings for eyepieces. The tray is fastened with three screws and, once installed, contributes to the tripod’s stability.
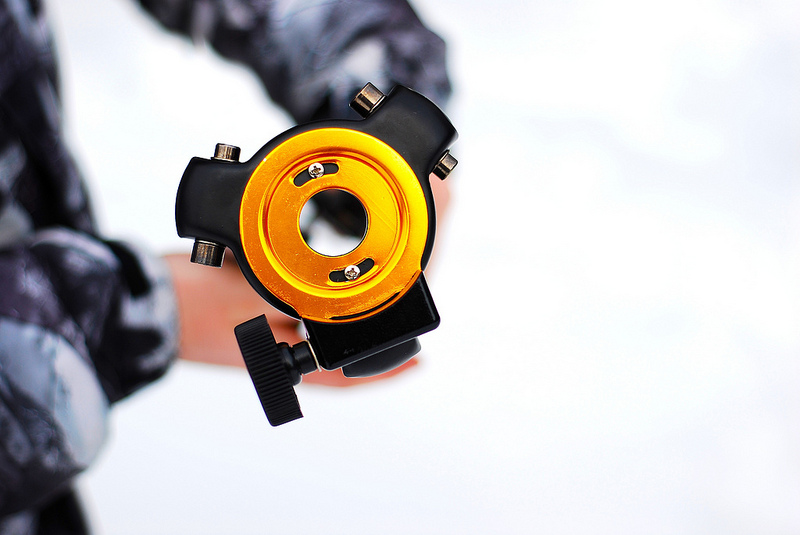
The plate where the mount is installed, in bright orange, is easy to find.
Let’s get to the Levenhuk Skyline 70x900 EQ telescope.

The telescope’s tripod is also made of aluminum. Both tripods have similarly equal heights. None of the telescopes in question comes with solar filters included, so at daytime we had no observations but lots of photo shoots so I went ahead and extended tripods to their full heights. I should mention that both tripods are very sturdy and steady and during two weeks of intense use none of metal or plastic parts were damaged or lost. Nothing was broken or so much as cracked, and nothing went missing.
Thumb screw heads and clamps are made of plastic, but a bit more rigid.
Tripod legs also have rubber feet and I have tried to remove them, but with no success. Looking at the bright side you won’t leave them on the ground or lose them in the sand by accident.
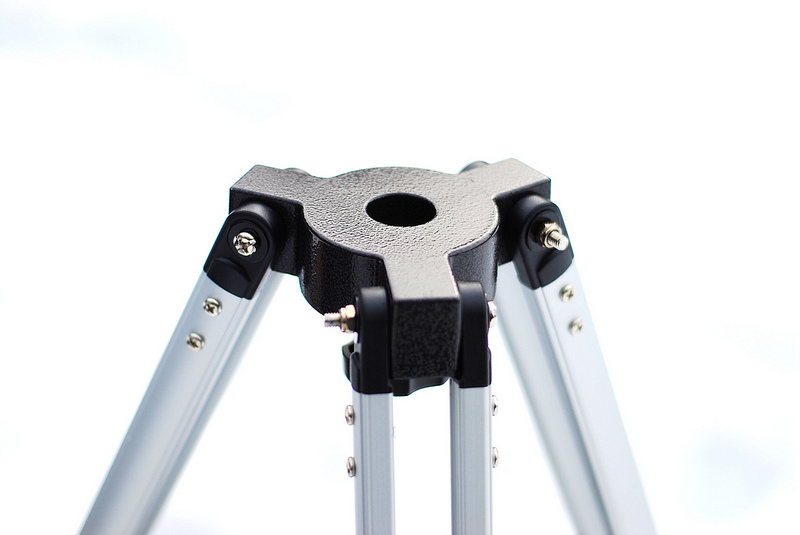
The accessory tray is made of plastic and is fastened with three metal screws. The screws are quite small, so attaching the tray is quite a task, especially if you are wearing gloves.

The plate for mount installation is made of metal, but doesn’t look as impressive as the one of Levenhuk Strike 90 PLUS.
So judging by their tripods these telescope models are equals. But basically, the tripod is the only thing they have in common. From now on there will be a lot of differences between the telescopes.
Levenhuk Strike 90 PLUS has alt-azimuth mount, which is just great for beginners, but makes any serious use of the telescope a lot harder. Of course you will be able to navigate to some bright star or a planet, but tracking it very difficult. Rotation above the axes is not smooth enough, and slow motion control mechanism is not provided. On one hand anyone will be able to assembly a mount like this in a minute. On the other hand, for experienced users (which I consider myself) continued use of this mount for following celestial objects seems to be unreasonable. Optionally the telescope may be used for terrestrial observations, but in that case you need to remember that the image will be upside down unless you use an erecting eyepiece. Also, the mount doesn’t have coordinate circles. Mount material is mostly plastic with some metal elements.

The most surprising part about the mount for me was the counterweight. For quite a while I couldn’t figure out where it should go and wasn’t it placed in the bag by mistake. I didn’t read the user manual for purely ideological reasons. I mean who reads manuals anyway? So I started to think: the telescope and mount are lightweight so generally speaking they don’t need any counterweights. Basically if your kit were missing the counterweight, you or anybody else wouldn’t notice. But still it’s there, so I had to attach it somewhere.
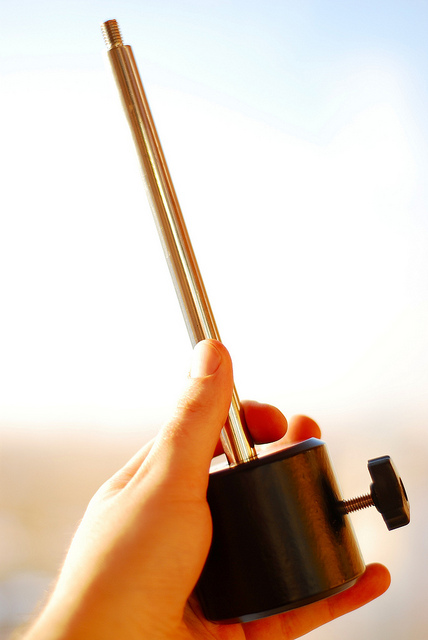
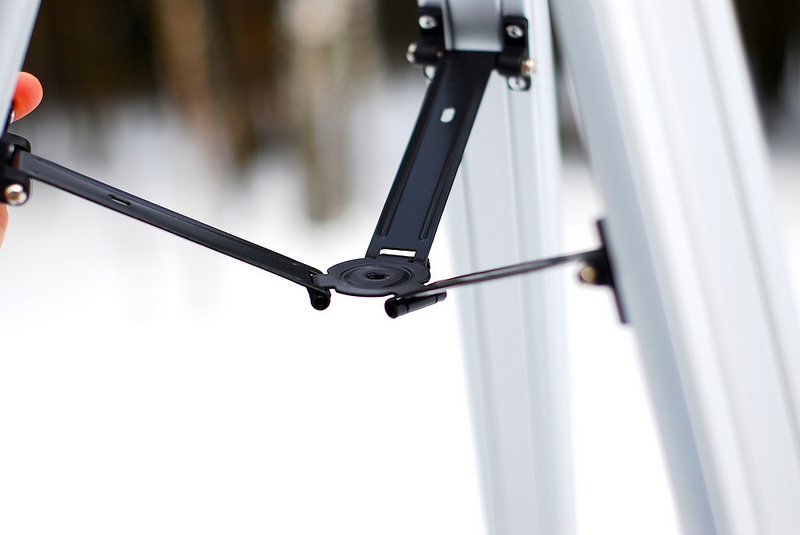
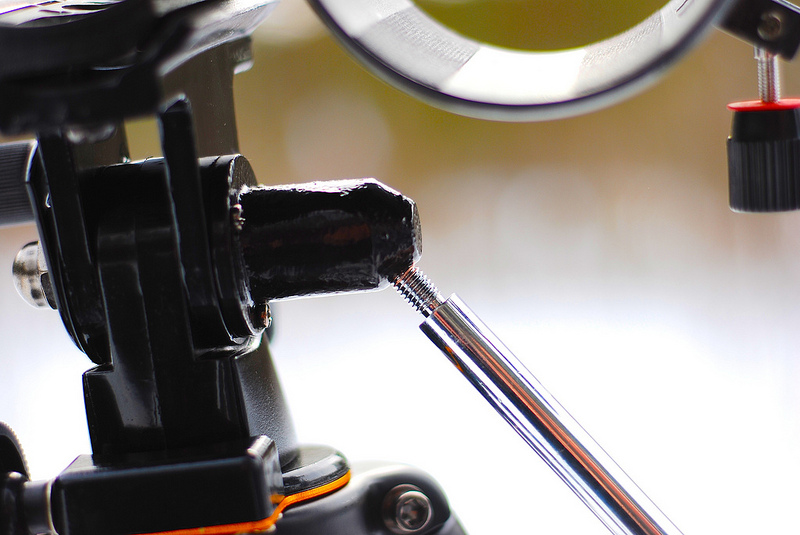
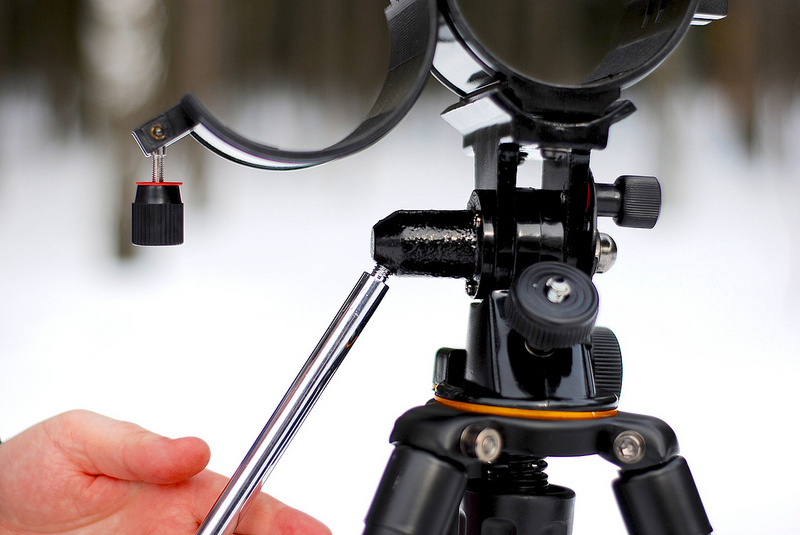
After minutes of scrupulous studying I successfully found the only possible place for the counterweight.
During the first week I kept attaching the counterweight faithfully, but with the start of the second week I removed it and to be absolutely honest forgot it ever existed. Fundamentally nothing has changed, but the total weight of the telescope decreased significantly.
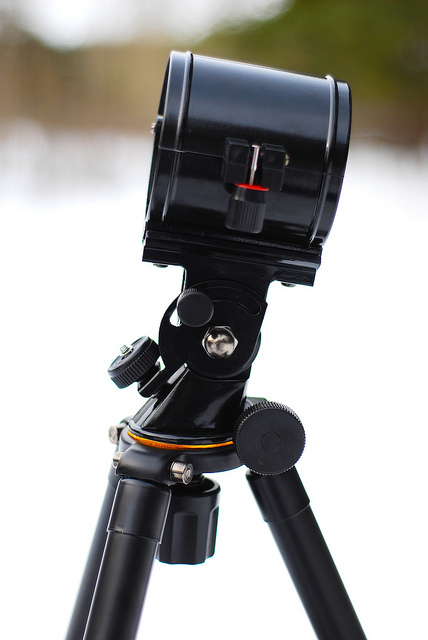
Levenhuk Skyline 70x900 EQ comes with a fully metal equatorial mount EQ-1. The mount is equipped with two coordinate circles, altitude adjustment T-bolt, locking screws and other known and familiar mount attributes. I got the impression that the tube is a bit too heavy for this mount, which didn’t react instantly to fine adjustments. Yes, by the way, unlike the previously discussed alt-azimuth mount, this mount has slow-motion controls. With this mount following stars and planets becomes a lot easier and more comfortable. But as you probably know everything has its price, in the case of the equatorial mount it’s a heavier weight and the time you have to spend assembling and adjusting the mount.


One of the rings has a camera mount.


Working with this mount was a positive experience with no doubt – it’s fully metal, reliable and relatively easy to use.
Now when all necessary preparations are finished, let’s move forward to the telescopes themselves.
The Levenhuk Strike 90 PLUS telescope optical tube has a really attractive appearance, its rich blue color and golden stripes make it look expensive and luxurious and overall gorgeous.

We especially liked the three-dimensional letters of the brand name on the tube body.

A bracket allowing you to attach the finder scope.

Now the tube is properly installed.


Telescope lens hood is made of metal and has a plastic cap.

Objective lens diameter of Levenhuk Strike PLUS is 90mm. Levenhuk Skyline 70x900 EQ has a shorter aperture of 70mm (as you can see from its title). Other conditions being equal, a telescope with 90-mm objective lens should collect more light. And more light means more stars.
But it’s not all as simple as it sounds. The focal length of this telescope is 600mm against 900mm of Levenhuk Skyline 70x900 EQ. That means that inside the tube light travels a shorter distance. That should affect the main lens and eyepiece design by making it more sophisticated and/or more expensive to correct an uneven path of light on such a short distance. I feared that design engineers won’t be able to solve this problem considering all the limitations applied to this tube. Look for yourself: large lens, short tube, inexpensive materials to keep the price affordable, and astronomy beginners as a target audience.
Unfortunately my fears have been confirmed. When observing at daytime or when looking through the telescope at streetlights, I could clearly see a blue halo – the effect of chromatic aberration. I have tried changing eyepieces and tested the telescope with all eyepieces I have in my collection, but aberrations remained more or less visible.
Here I am installing the Red Dot finder.


The rack-and-pinion focuser is made of plastic. Though I read in one review that it’s made of some composite material – plastic and metalized foil – I’m not sure. To me if it looks like plastic and feels like plastic then it’s plastic.


As for the Levenhuk Skyline 70x900 EQ, that’s the telescope anyone who likes "formidable" things would like. We created dozens of nicknames for the metal tube painted a black matte color, some of which were "bazooka", "grenade launcher" and "sniper rifle". The last one was inspired by the finder scope with a crosshair. If you look through the finder scope during daytime it feels like you’re looking through a rifle scope. The crosshair is not illuminated, so I thought it might cause some problems at night. But apparently I worried in vain – the finder collects enough light for observations, you can see the crosshair, the stars and any other objects. I personally liked this finder scope better than the Red Dot finder that comes with Levenhuk Strike 90 PLUS.


Plastic lens hood cap.


The focuser is also made of plastic and has a locking screw. The focuser is threaded to attach a T-ring, meaning that you can easily connect a camera to the telescope.


Objective lens.


The kit of the Levenhuk Strike 90 PLUS telescope includes a 3x Barlow lens, plastic diagonal mirror and a set of three multi-coated eyepieces. Note that eyepieces in the kit are not threaded for filters.
HR20mm eyepiece gives you resulting magnification of 30x. I think this eyepiece should be the regular eyepiece for this telescope as it produces images that are the most pleasant to the eye, with moderately sharp contrast.


HF6mm eyepiece gives you magnification of 100x.


The third eyepiece in the kit is a zoom eyepiece with variable focal length in the range of 6.8 to 16 mm. With this eyepiece you can get magnifications from 37x to 88x. Lenses in this eyepiece are a bit darker compared to the two other eyepieces in the kit, so image quality is a bit worse as well.


The kit of Levenhuk Skyline 70x900 EQ includes two eyepieces. There are also a 2x Barlow lens and a metal-rimmed diagonal mirror in the kit. Both eyepieces are multi-coated and threaded for filters.

25mm eyepiece installed on this telescope produces 36x increase.


10mm eyepiece allows you to achieve 90x magnification with this telescope.


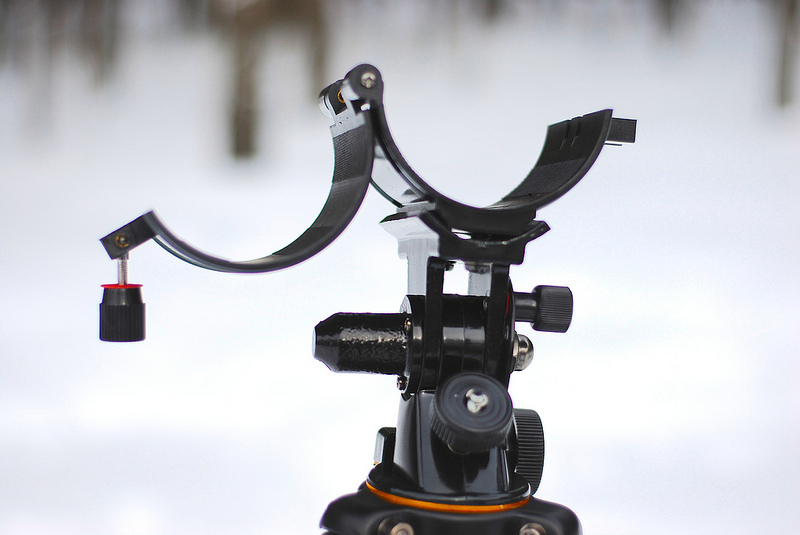
Here is what the diagonal mirror, Barlow lens and 25mm eyepiece look like when attached together.

Focuser with a T-ring.

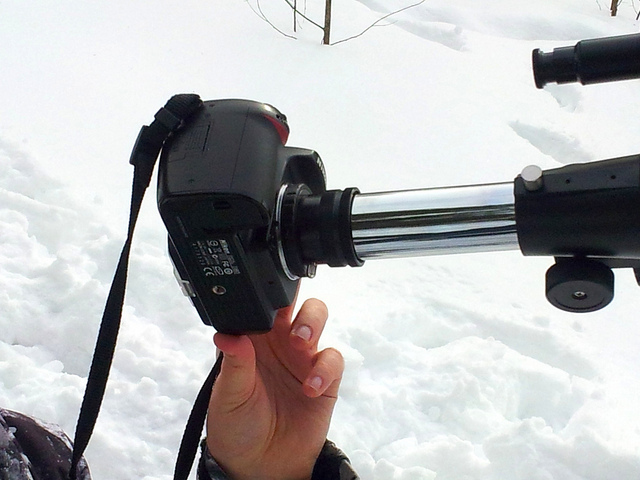
Levenhuk Skyline 70x900 EQ + Nikon D80. Sorry for the poor quality; this picture was made with my phone.
A couple of words about my visual observations: During these two weeks I have been using both telescopes on an every day basis. To avoid any subjective judgments I brought two Bahtinov masks and focused telescopes using them. So I focused the telescopes as precisely as I could and theoretically they both were focused equally well. In practice Levenhuk Skyline always produced sharper and more contrast images both with eyepieces from the Skyline kit and eyepieces from the Strike PLUS kit.
So judging by image quality, Levenhuk Skyline 70x900 EQ wins. But I should say that lunar observations are equally great with both telescopes. Jupiter with these telescopes also appears the same – you can see a couple of grayish blue stripes on it and a group of moons. You can also see Orion nebulae but only as a small grey cloud without details. Betelgeuse appears as a small, but bright red star. If we speak about terrestrial objects you can observe for example a streetlight in detail even if you are 6 miles away.
So a brief conclusion on Levenhuk Strike 90 PLUS:
- Easy to assemble and use
- You can’t do astrophotography with it, since it doesn’t allow you to attach a camera
- Accessory tray with openings for eyepieces is quite convenient, especially at night
- Focuser feels a bit tight and doesn’t have a locking screw
- It’s not meant for long-term following of stars and planets, since it lacks slow-motion controls
- The most frequently used eyepiece in the kit is HR20mm
- This telescope doesn’t need any counterweight
- Zoom eyepiece is a bit dark
- Blue halo around light sources at night and bright objects at day time are traces of not properly corrected chromatic aberrations
- This model is for those who truly enjoys beauty, style and compactness
On Levenhuk Skyline 70x900 EQ I can say the following:
- The screws used to fasten the accessory tray are very small, so they slow down the assembly process
- The focuser does have a locking screw
- Though finder scope is not equipped with a red dot, you can still see everything through it at night
- Eyepieces included in the kit allow you to install filters. Filters are purchased separately.
- Following stars and planets is quite comfortable with this telescope, but in some cases it seems that the tube is too heavy for the mount
- Both eyepieces from the kit provide sharp and contrast images
- Chromatic aberrations are reduced to a minimum
- This model is for those who like solid-looking instruments with substantial weight
By the way, Levenhuk Strike 90 PLUS is more expensive than Levenhuk Skyline 70x900 EQ. Who would have thought, right?
On this note I want to finish my review and express my deep gratitude to Levenhuk for this great opportunity to test these awesome telescopes (yes, I liked them both, Strike is just not at my user level). Also thanks a lot to my family and friends who helped me with testing telescopes and creating this hopefully helpful review.
Any reproduction of the material for public publication in any information medium and in any format is prohibited. You can refer to this article with active link to eu.levenhuk.com.
The manufacturer reserves the right to make changes to the pricing, product range and specifications or discontinue products without prior notice.


